 My thought on Weaving To me, the warp(the vertical threads) and the weft(the horizontal threads) represent different ideas. The warp is “destiny”,and conditions that I’ve been given in life, as well as those I haven’t. Even if the warp teaers, I keep on weaving,to my heart’s content. And all the time,the weft comes in –sometimes it sticks out too long, or there’s not enough. Sometimes it comes in comes in unexpectedly, and at other times it weaves in serious and confident. And it continues,as long there is warp left to travel. Have you ever thought about what color,what shape your life is? There’s only one of “you”in the entire world, and the cloth you wear represents that. Your clothes protect who you are, they accompany you down the road of life, and they’re the proof that you can always be yourself.
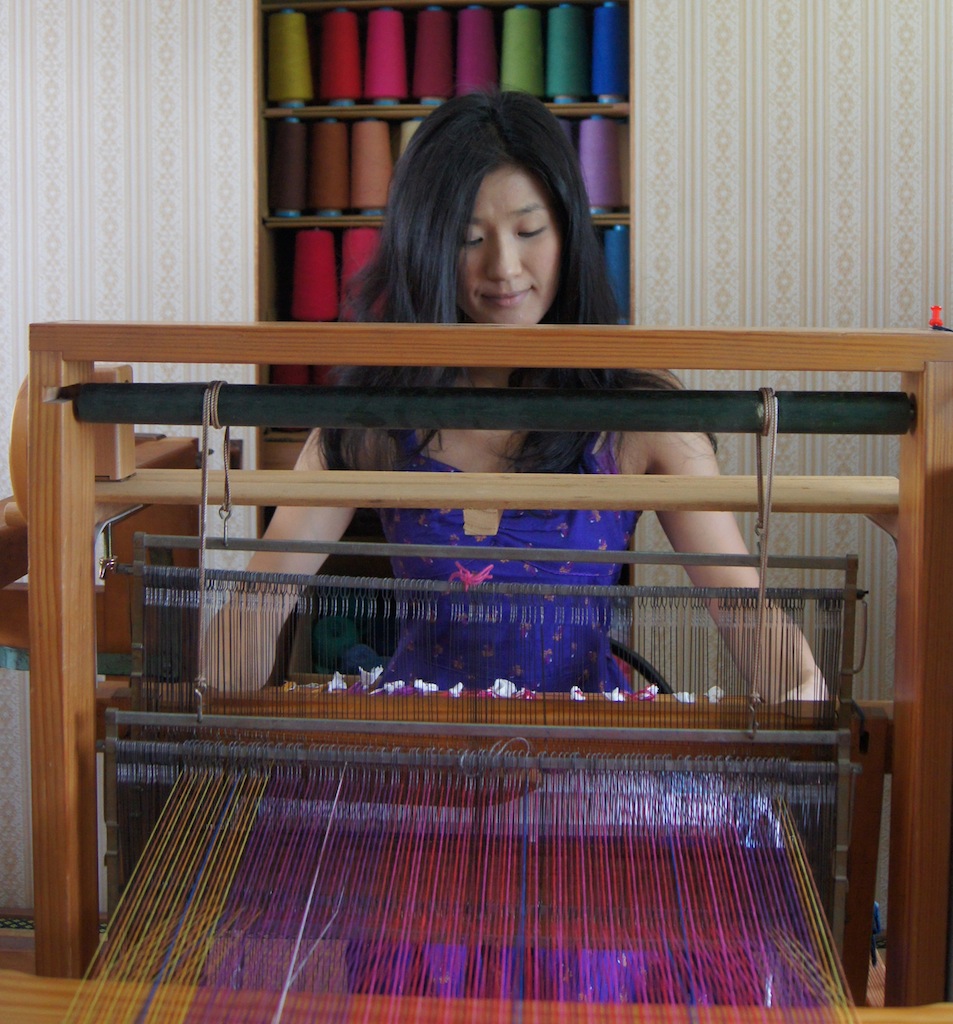
さをり織りとは自由に織ることです。
織る人がそのまま作品に表れます。
わたしはたまたま「さおり」という名前ですが、その名の通り、わたしを織ります。
きっちりしているところもあれば、いい加減なところもあります。
それはわたしが織っているからです☆
それからすみません、同じ物は二度と作れません!
設計図などなく、思いつきで勝手に手が先に動いてしまっているので、自分でもどうやって作ったかわかりません♡てへっ
また、つぎはぎが多いのは、もったいないからです♪ MOTTAINAI
織り上げた生地をできるだけ余すことなく使いたいのです。
どうかあたたかい目でお見守り下さい♡
布ができるまで
★How Cloth is Woven★
織りによって布ができる工程を簡単に紹介します!
Let me give a simple explanation of the weaving process!
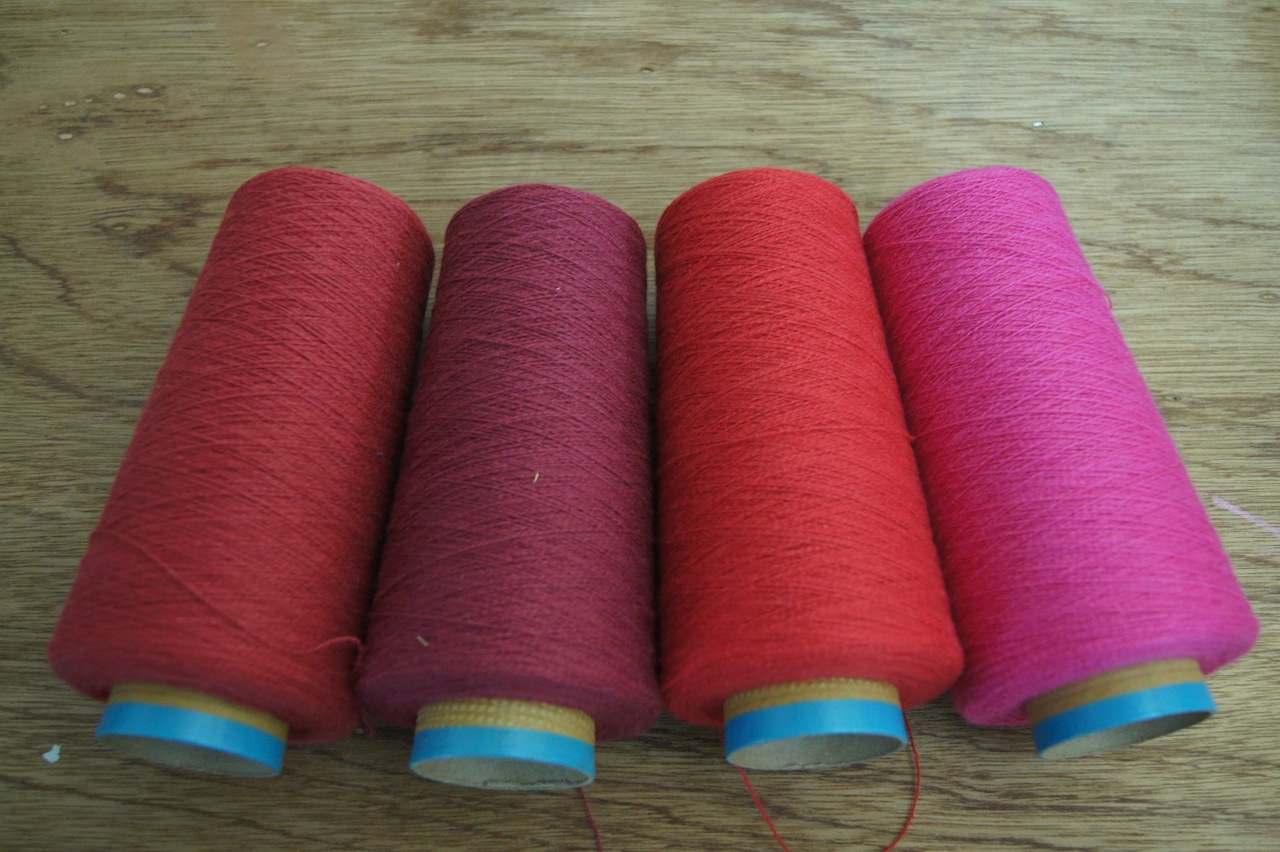
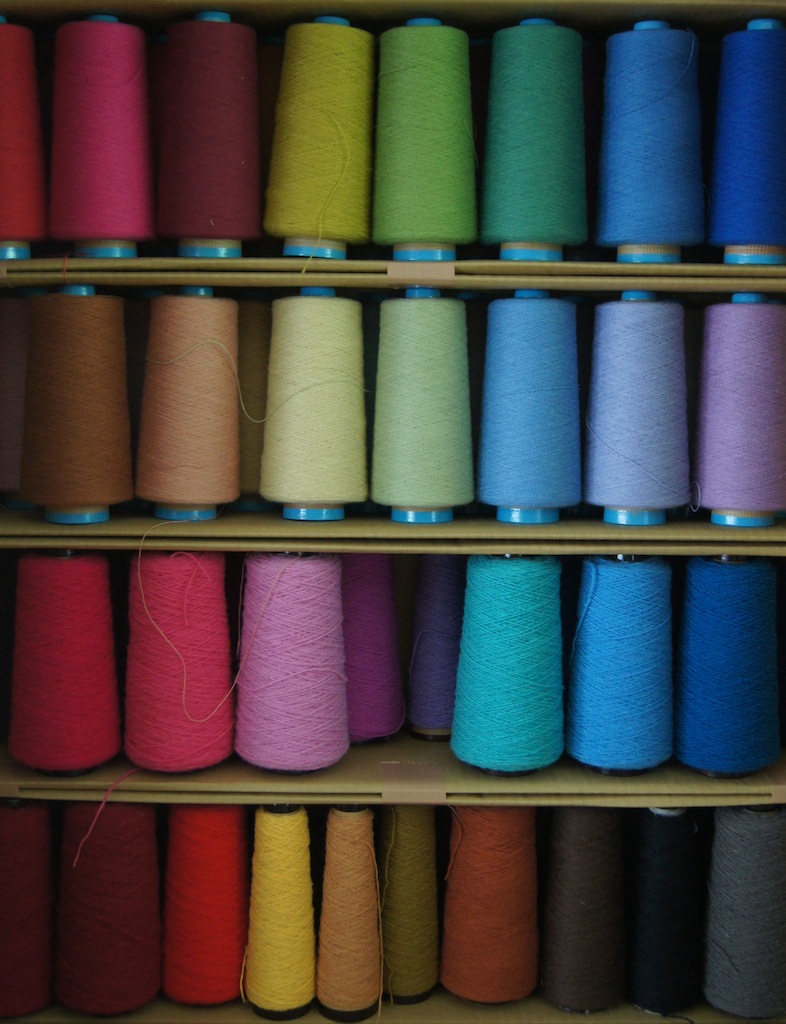
1.まず、縦糸にする糸を選びます。
First,I decide what threads to use for the warp(the vertical threads).
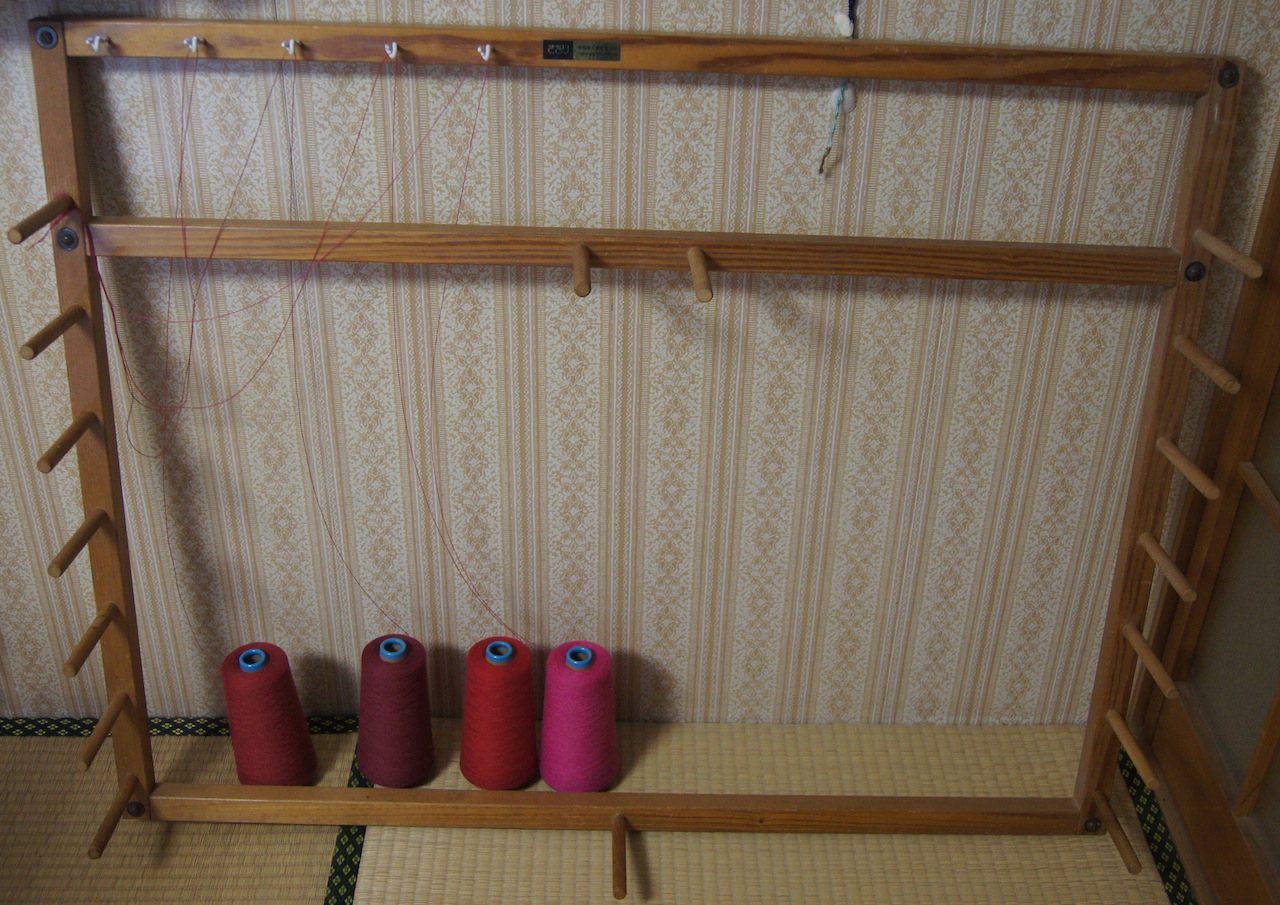
2.整経枠を使って縦糸を作っていきます。
I use a warping frame to start creating the warp.
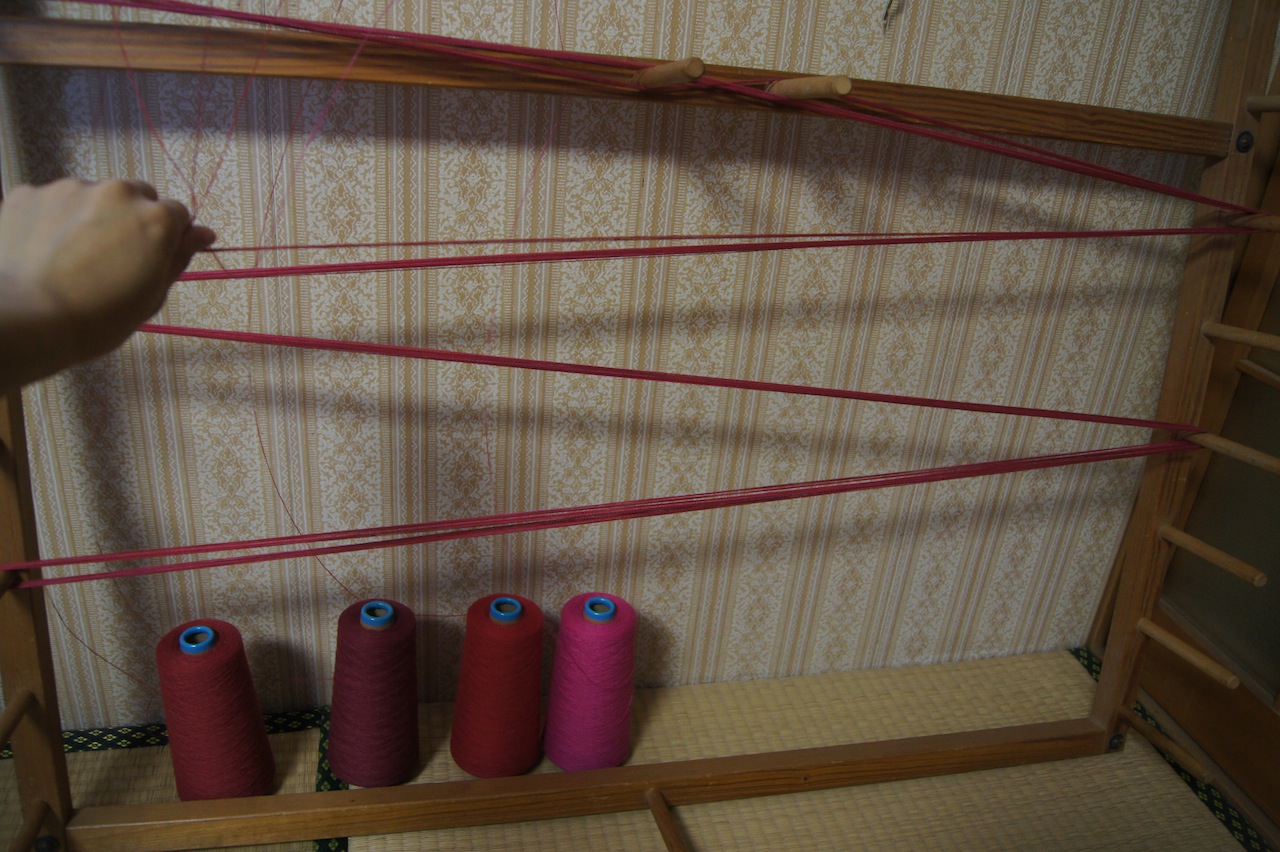
3.1辺1mの長さで手を使って糸を 棒にひっかけていきます。
Then I pull the threads into one-meter-long segments.
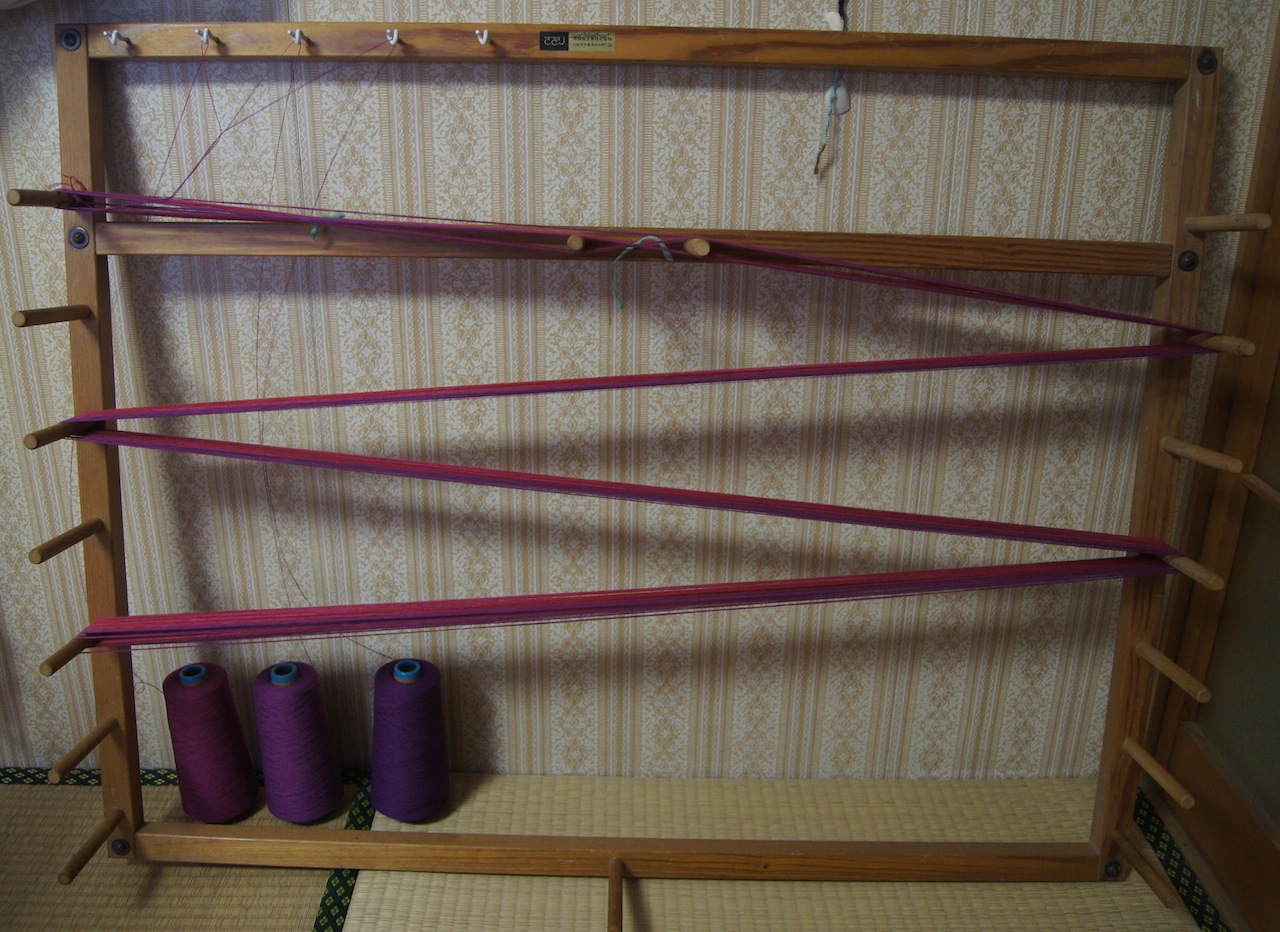
4.更に違う色も足します。
I add more colors…
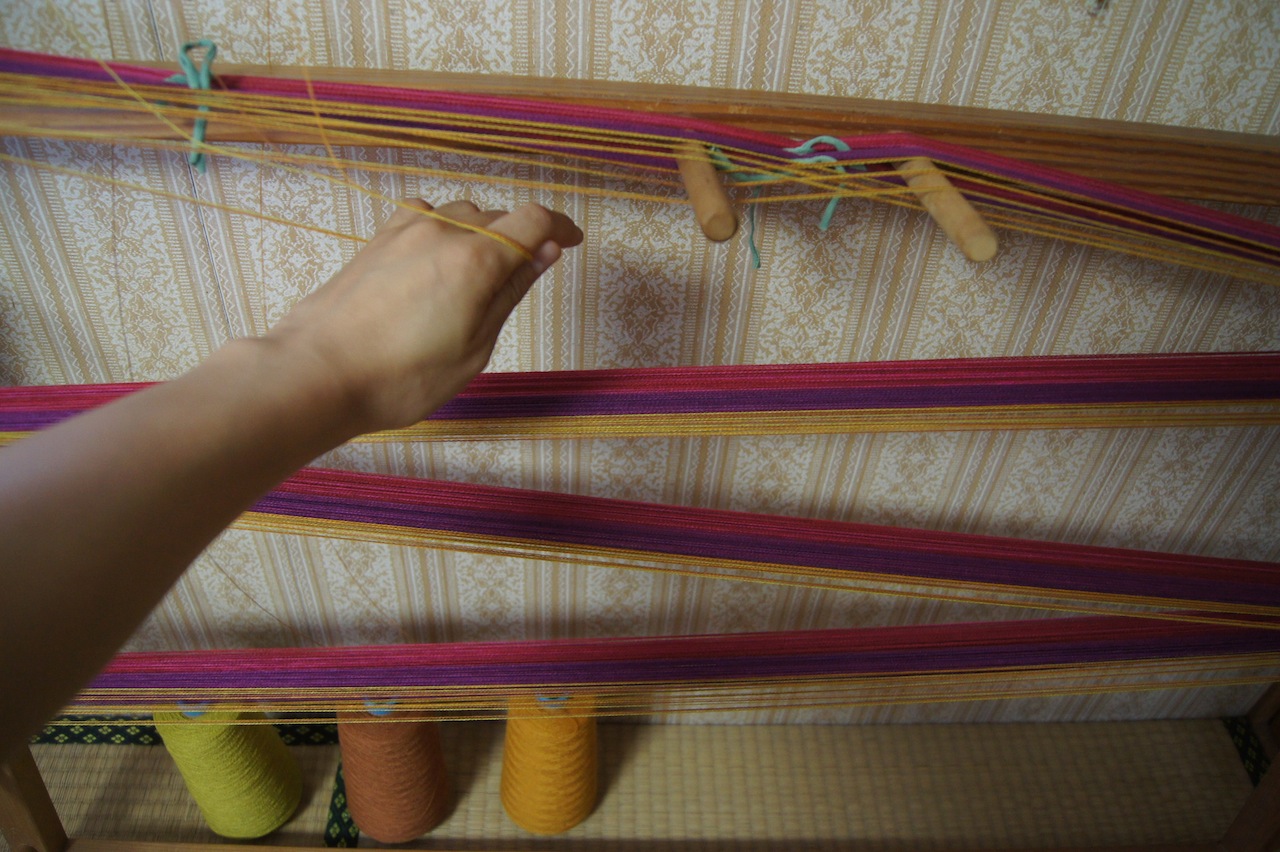
5.更に違う色も♪
And then I might add even more!

6.整経枠から切って外した糸を、筬に通していきます。
Once I cut and remove the warp from the loom,I start passing it through the reed.
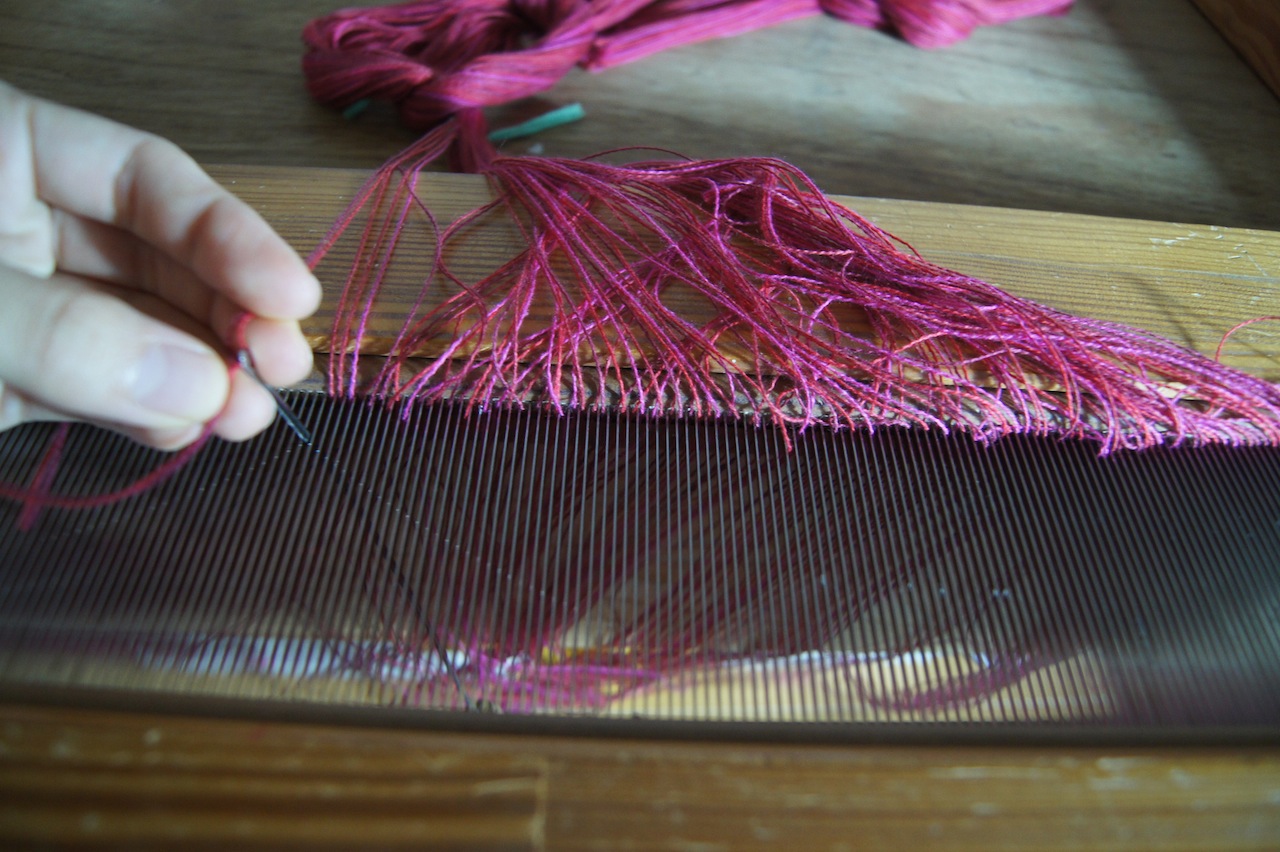
7.一本一本通していきます。
I meticulously pass each thread through, one at a time.
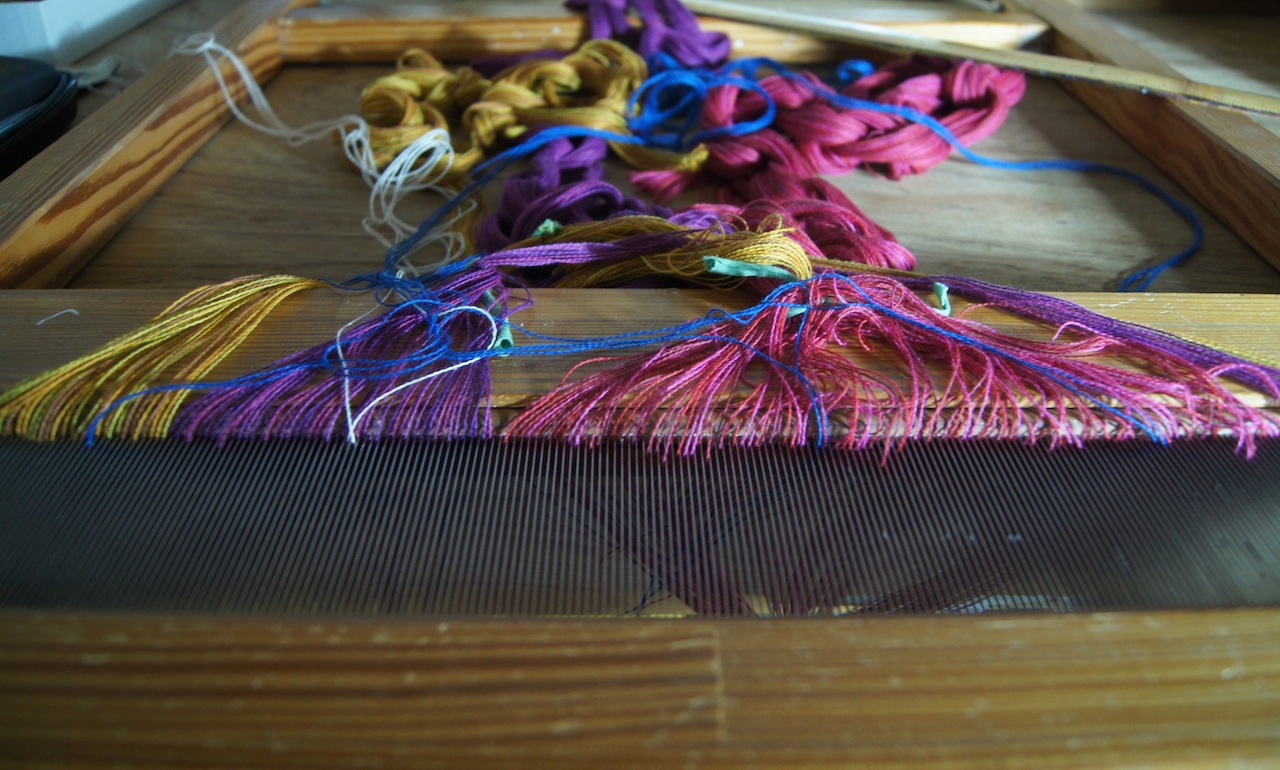
8.全部通しました。
All done!
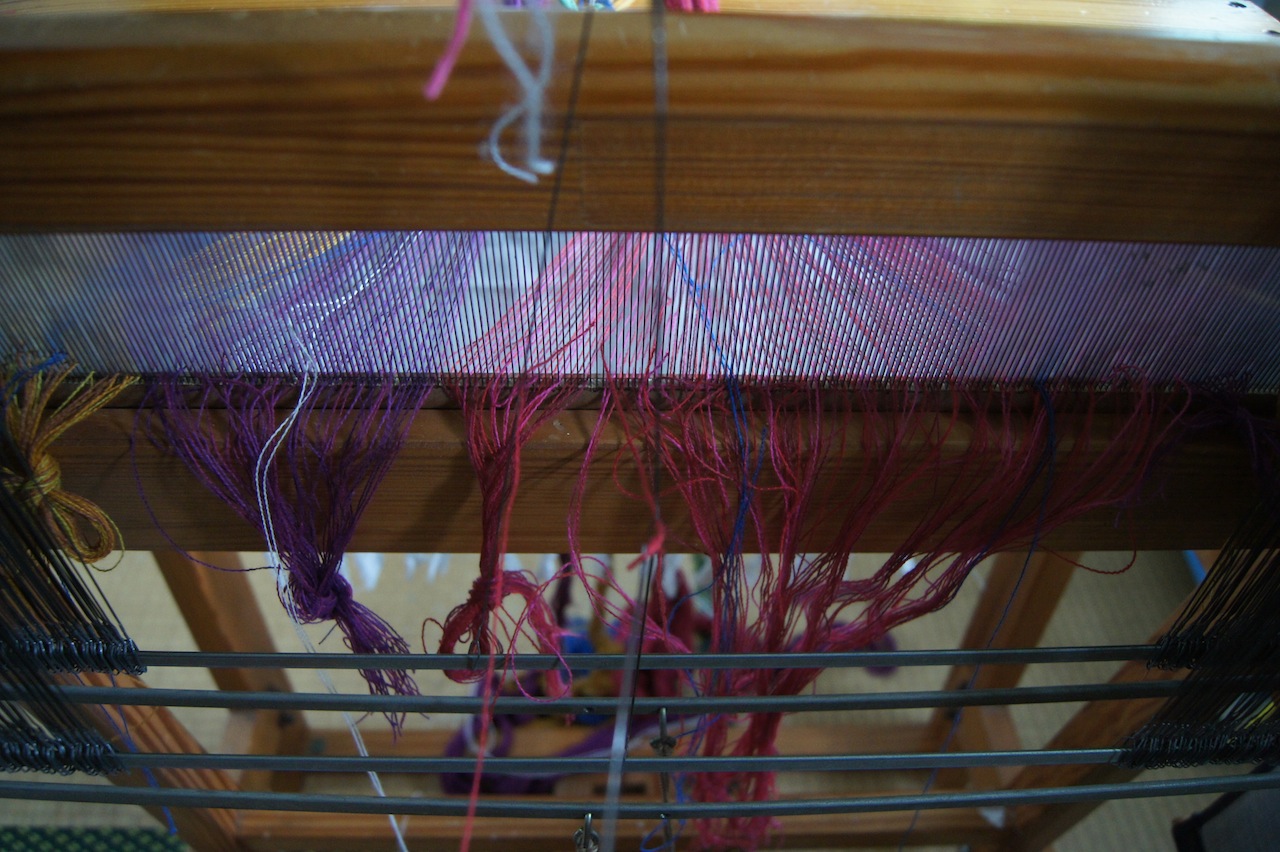
9.次はヘルドに糸を通していきます。
Next, I pass thethreads through the heald wires.
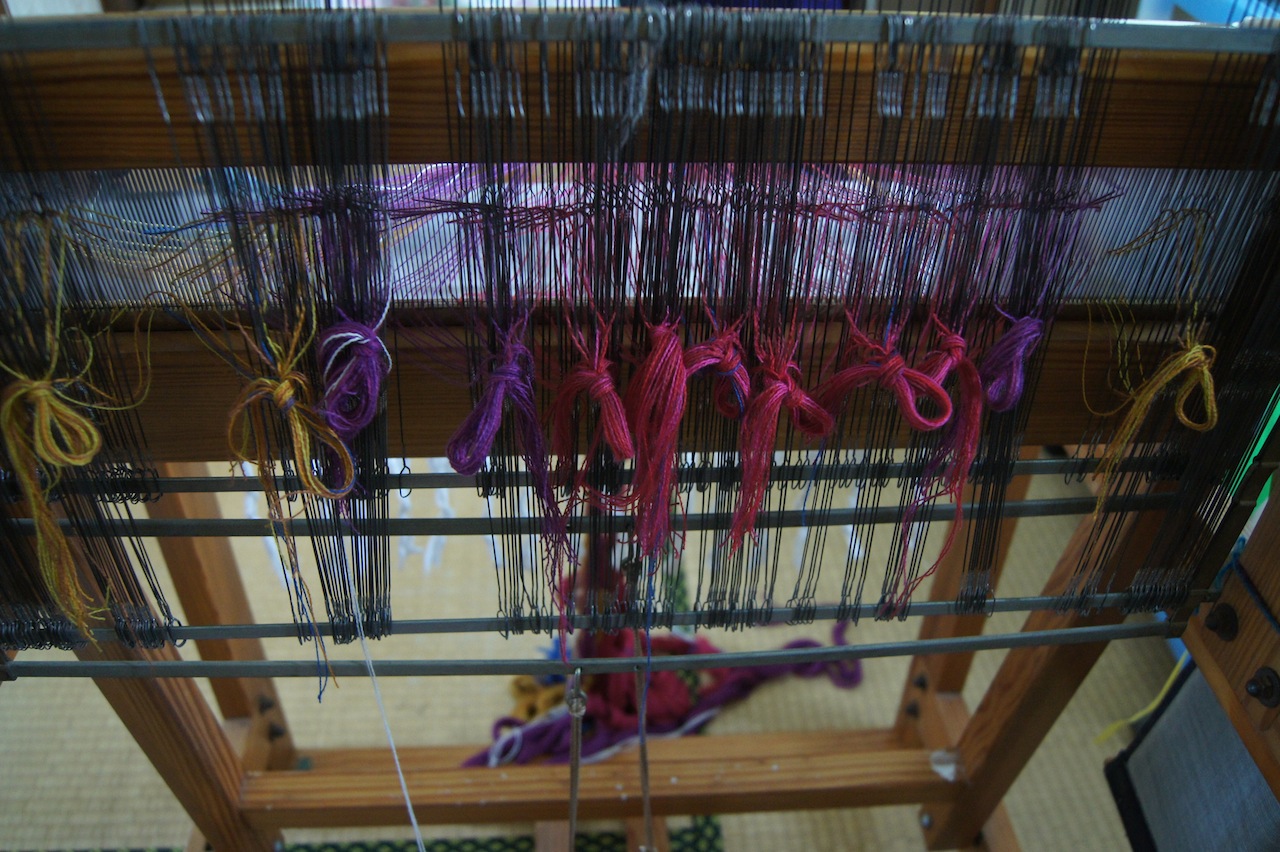
10.全部通しました。
Phew! All done!

11.巻き取り側に縛りつけます。
I tie them to the side I’ll be reeling…
12.巻き取っていきます。
And start reeling the thread!
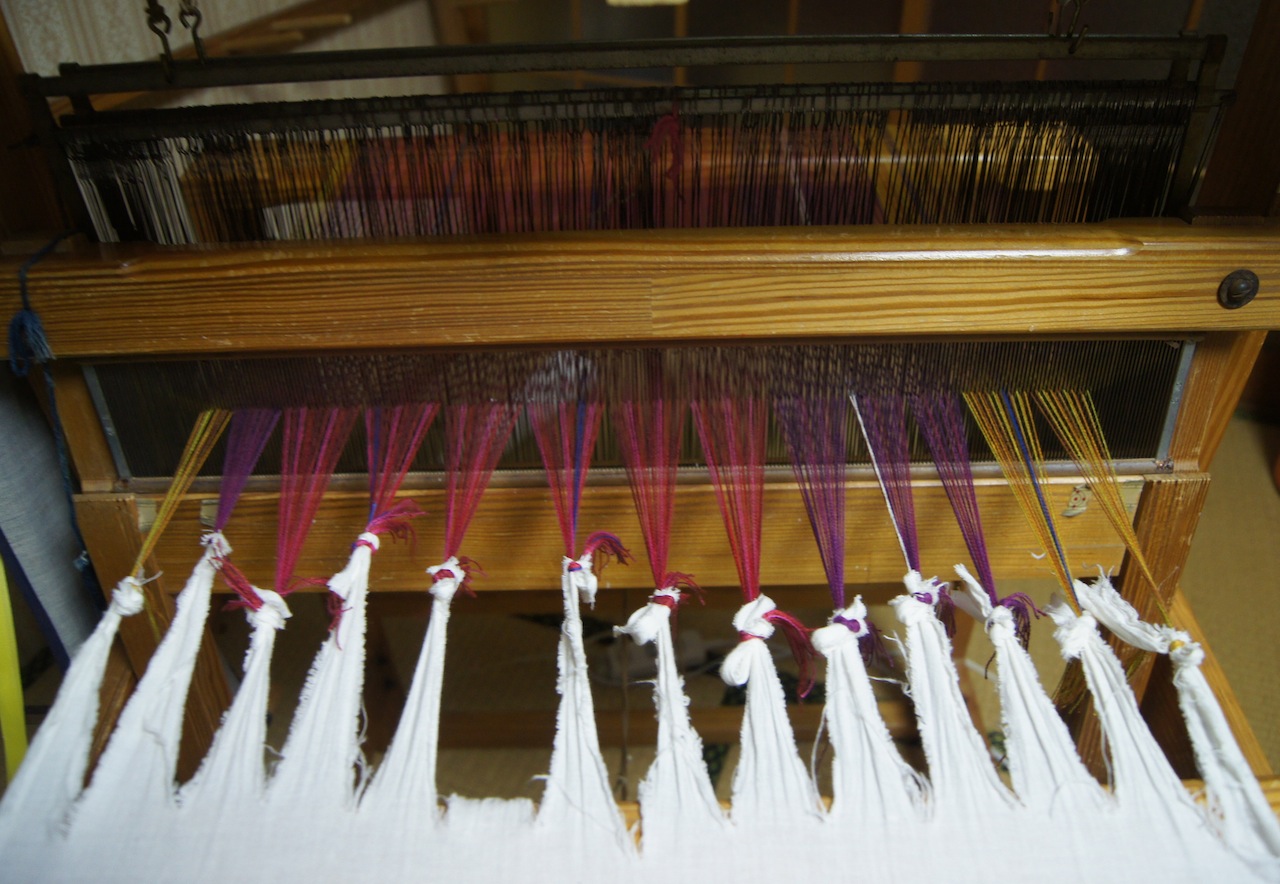
13.巻き取りきったので織りはじめ側 にも縛り付けます。
Once the thread has been reeled, I tie them to the side I’ll be weaving from.
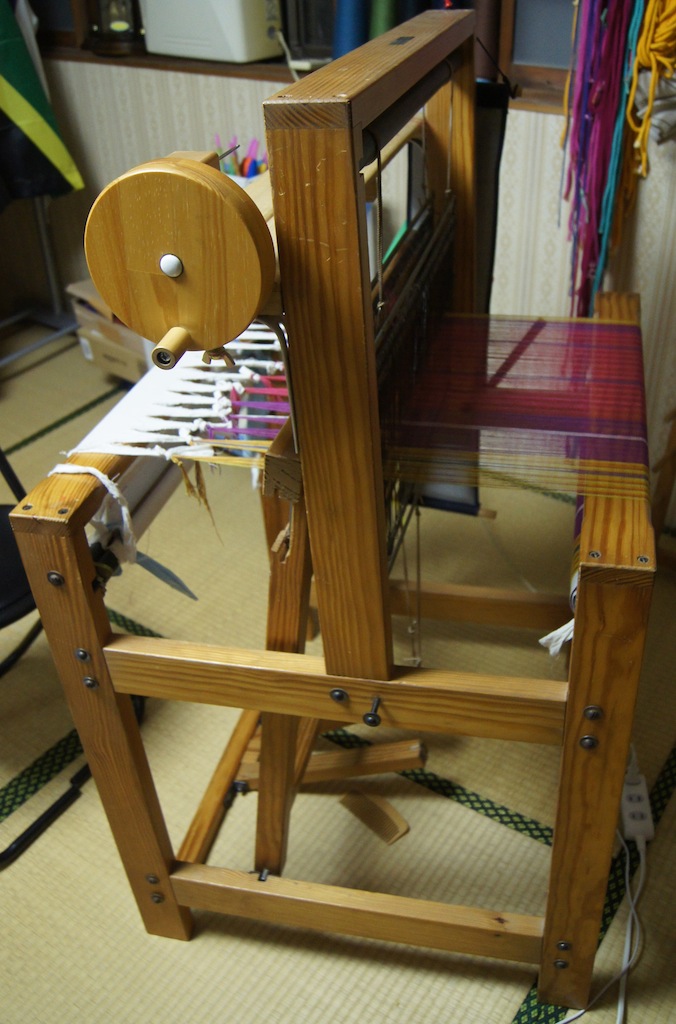
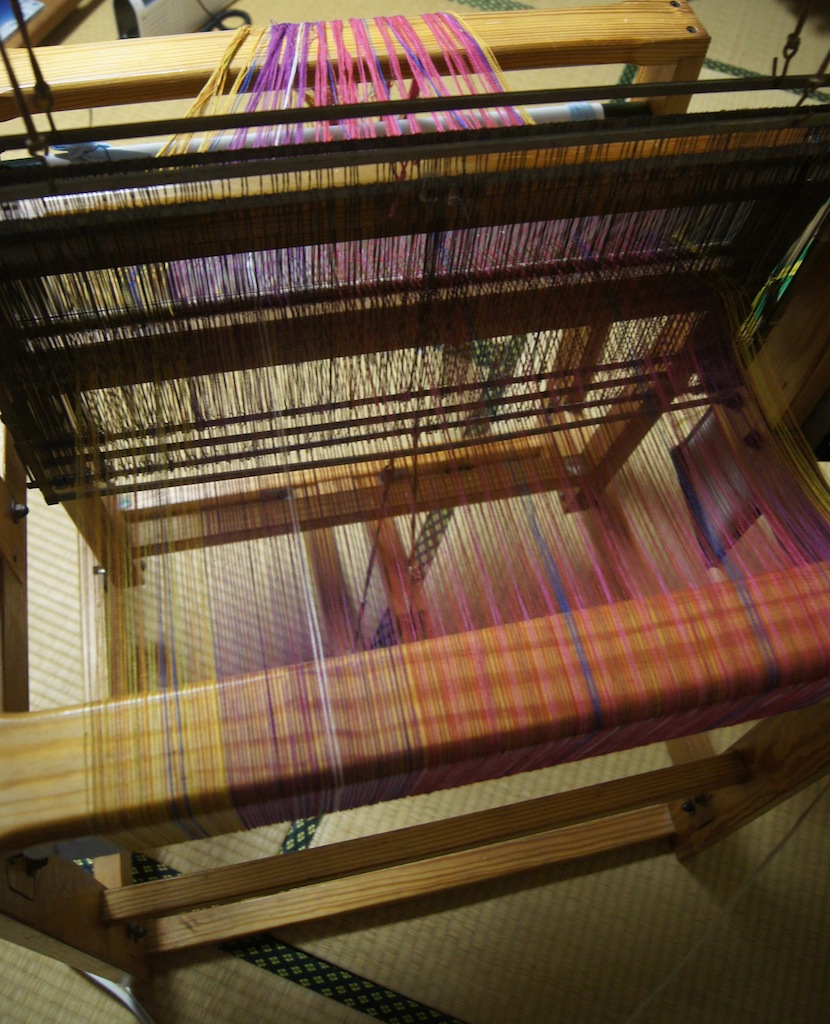
14.横から見るとこんな感じです。
Here’s a side view!
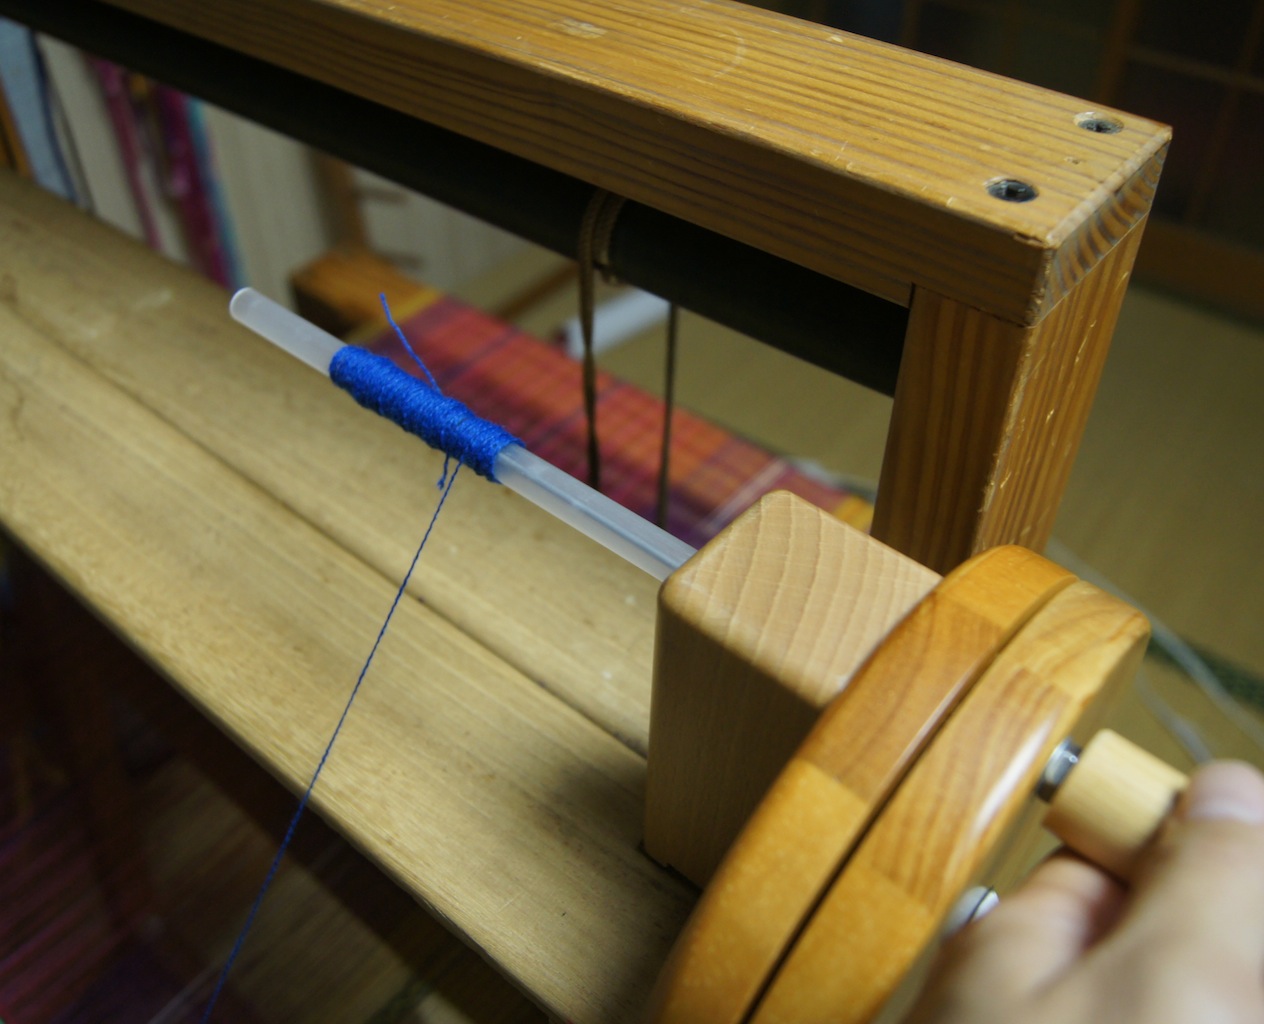
15.ボビンに糸を巻き付けます。
Then I thread the bobbins I’ll be using.
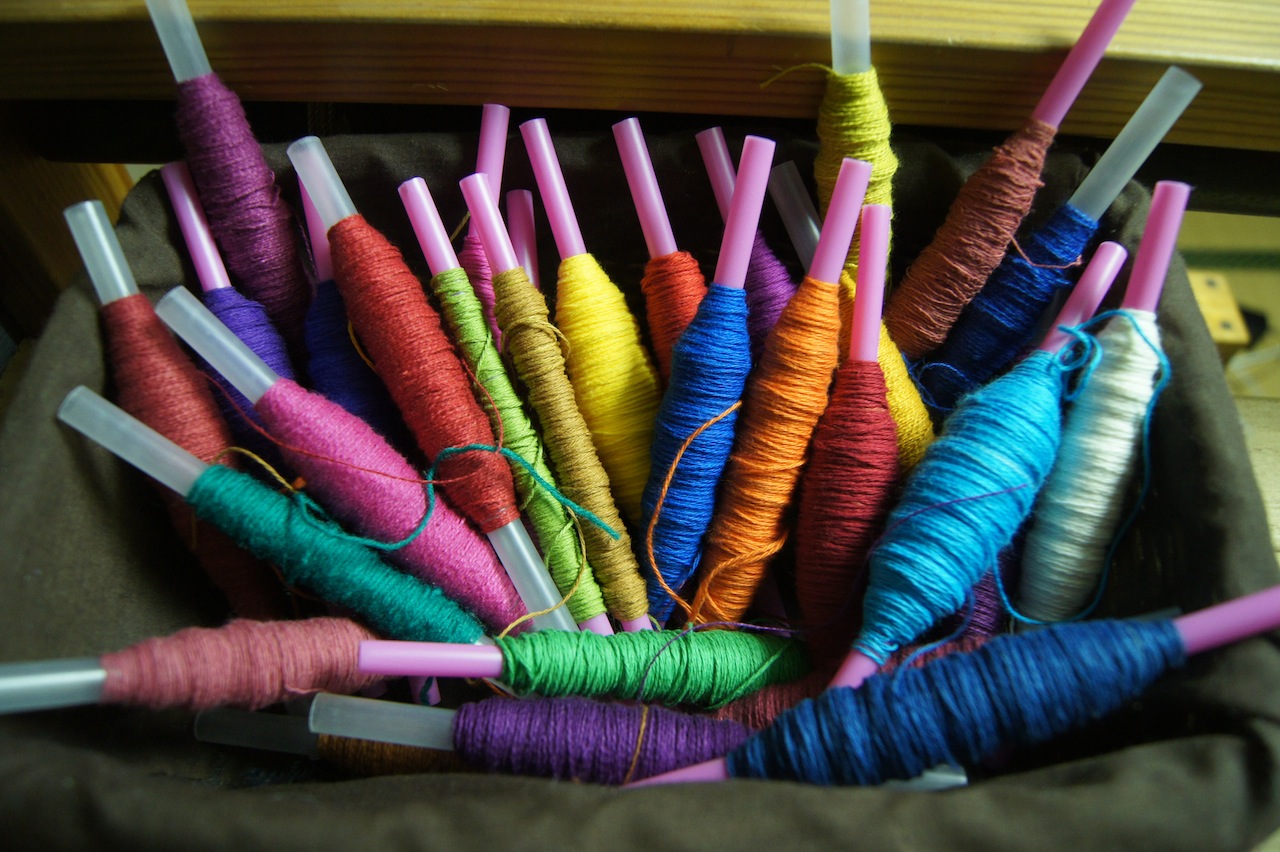
16.色とりどりのボビンたち。
My colorful little bobbins!
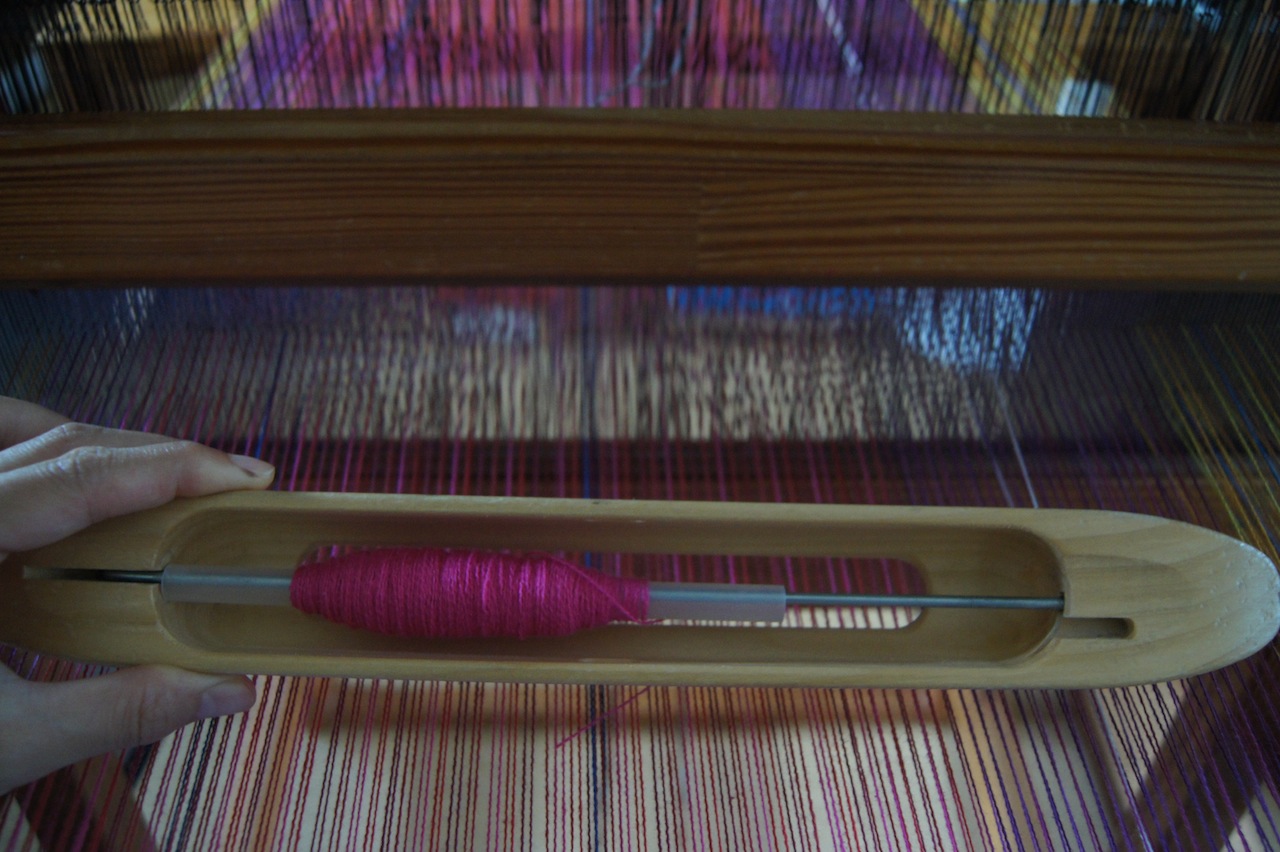
17.ボビンをシャトルにセットします。
Then I set the bobbin in the shuttle.

18.ペダルを踏んでパカッと開いた ところにシャトルを通して横糸を 挟みこんでいきます。
I push the pedal, and with each “thwack” the bar lifts for me to pass the weft through.
19.織っていきます。
And away I weave!
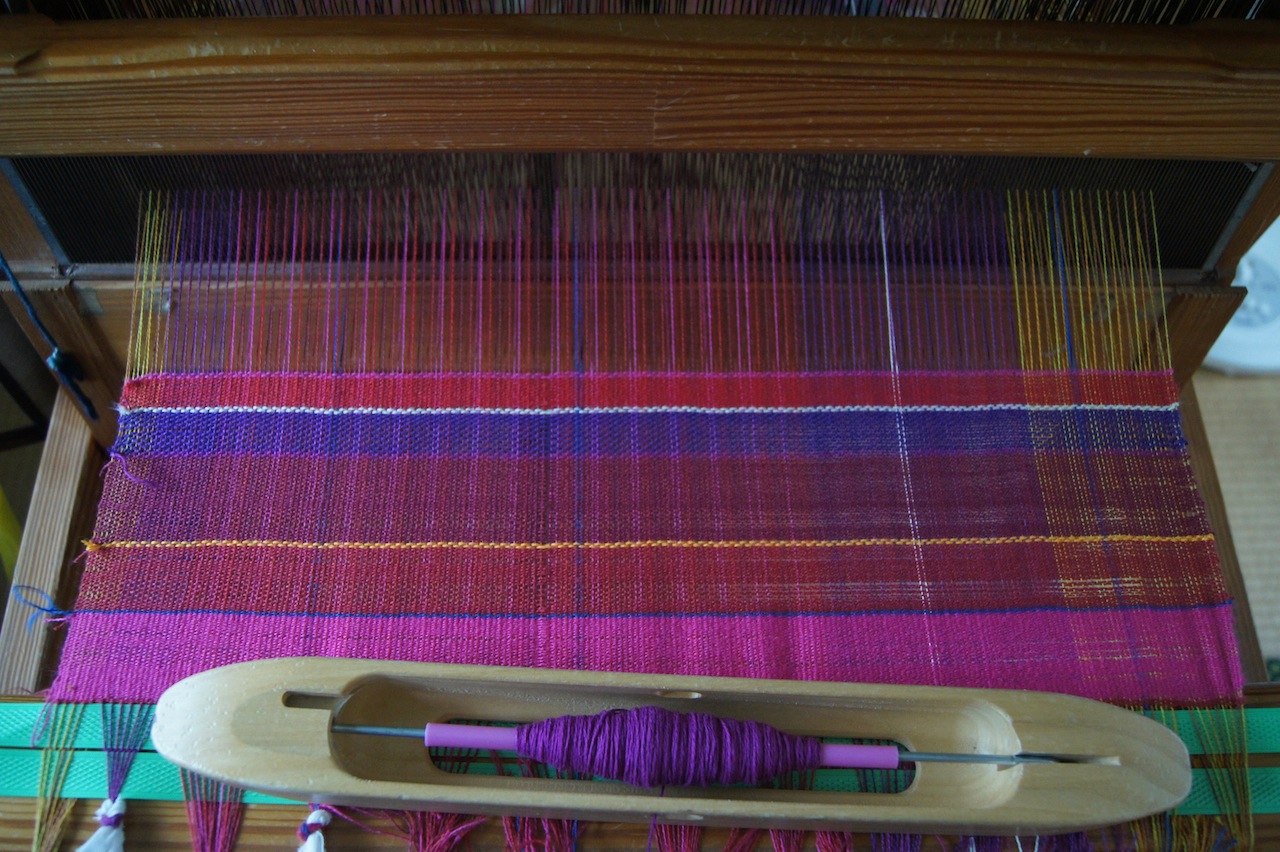
20.時々色を変えていきます。
Sometimes I’ll put in a new color…
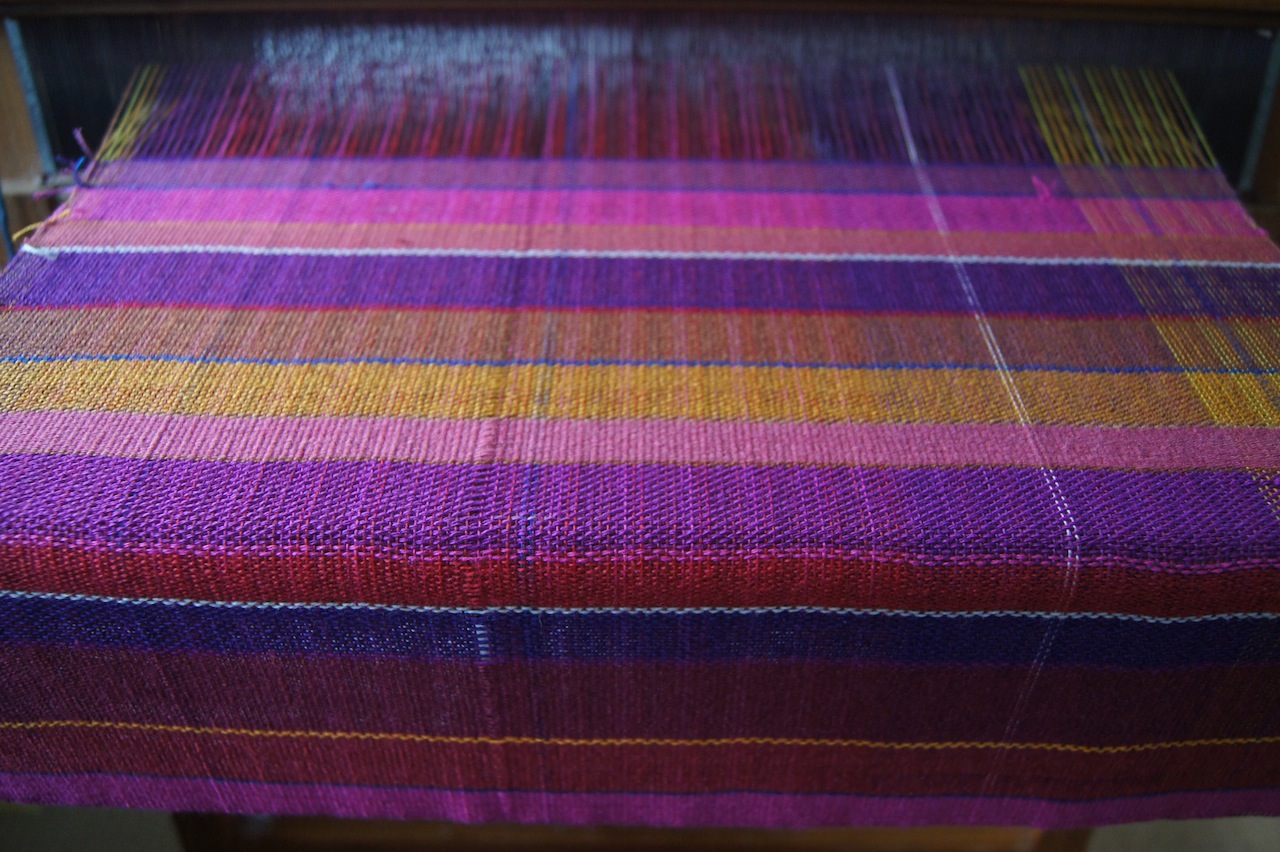
21.ひたすら織っていきます。
But I keep on weaving.
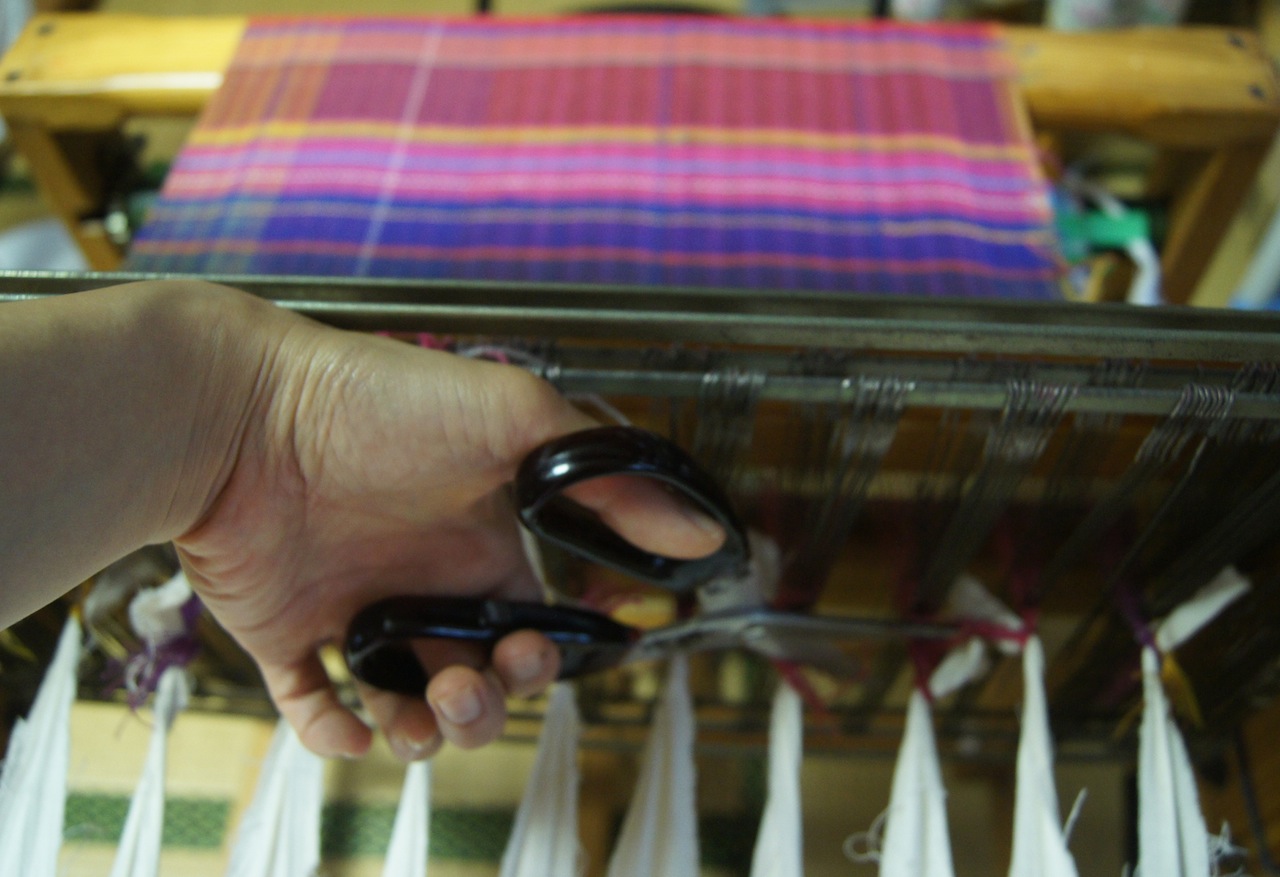
22.最後まで織り終えたので切断します。
Once I’m finished, I cut off the threads.
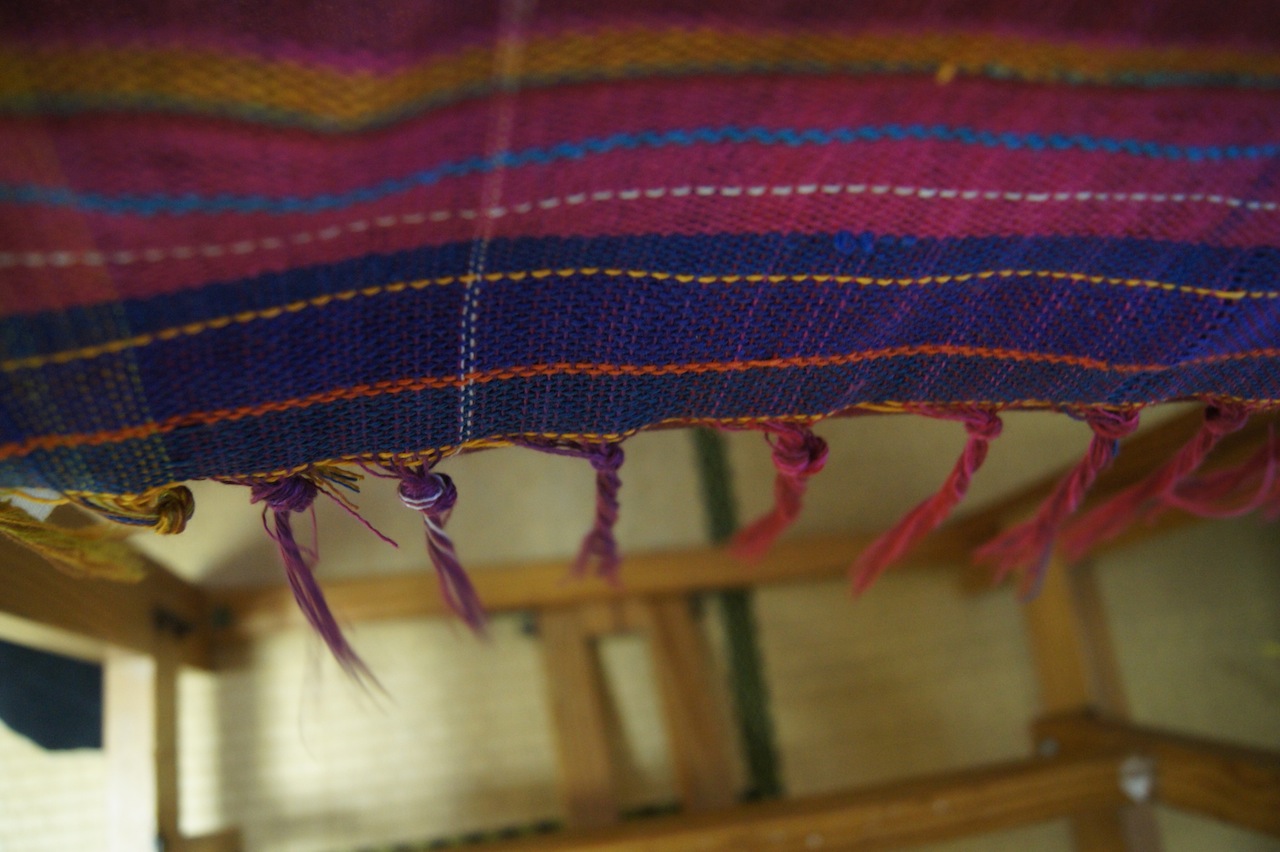
23.端っこを縛ります。
I tie the ends…
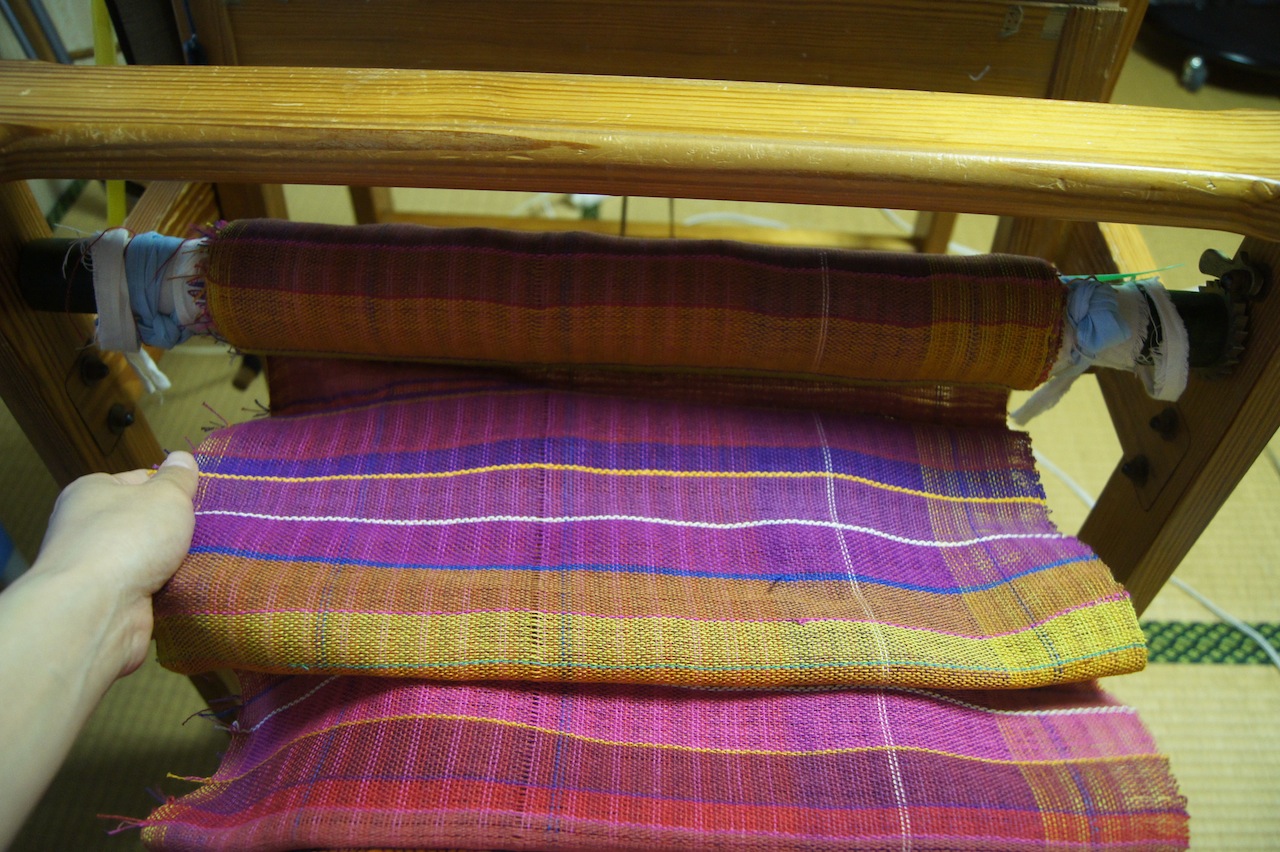
24.織り機から布を外していきます。
And then I remove the cloth.
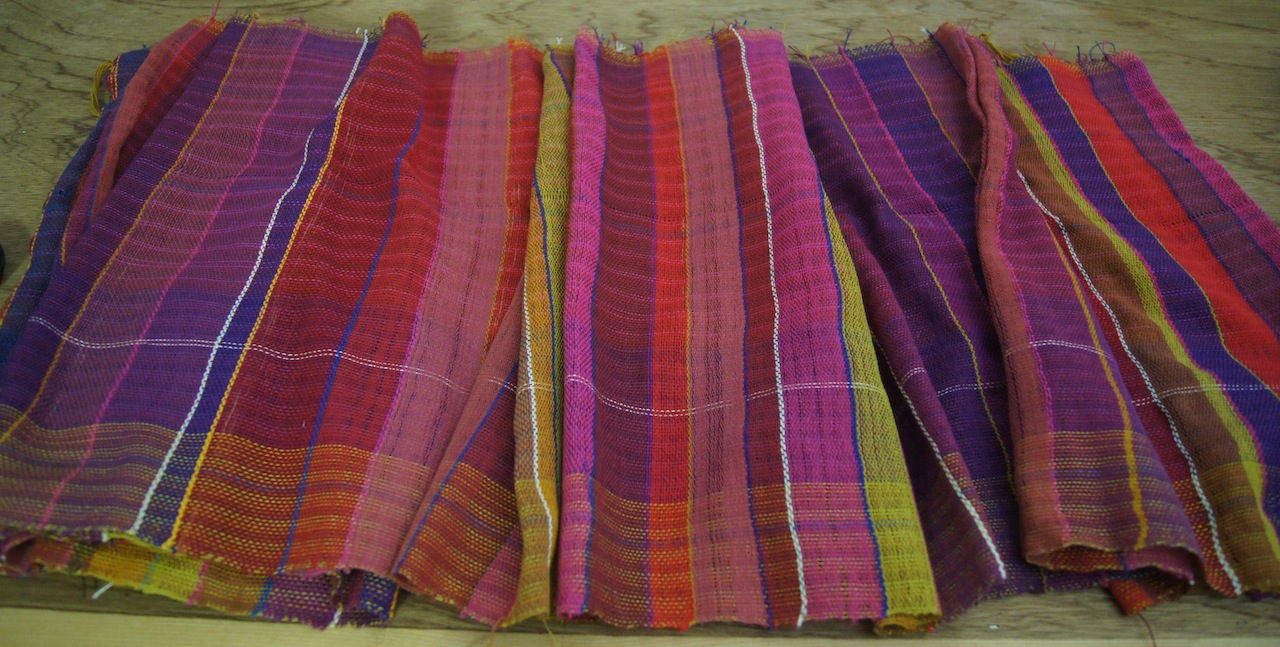
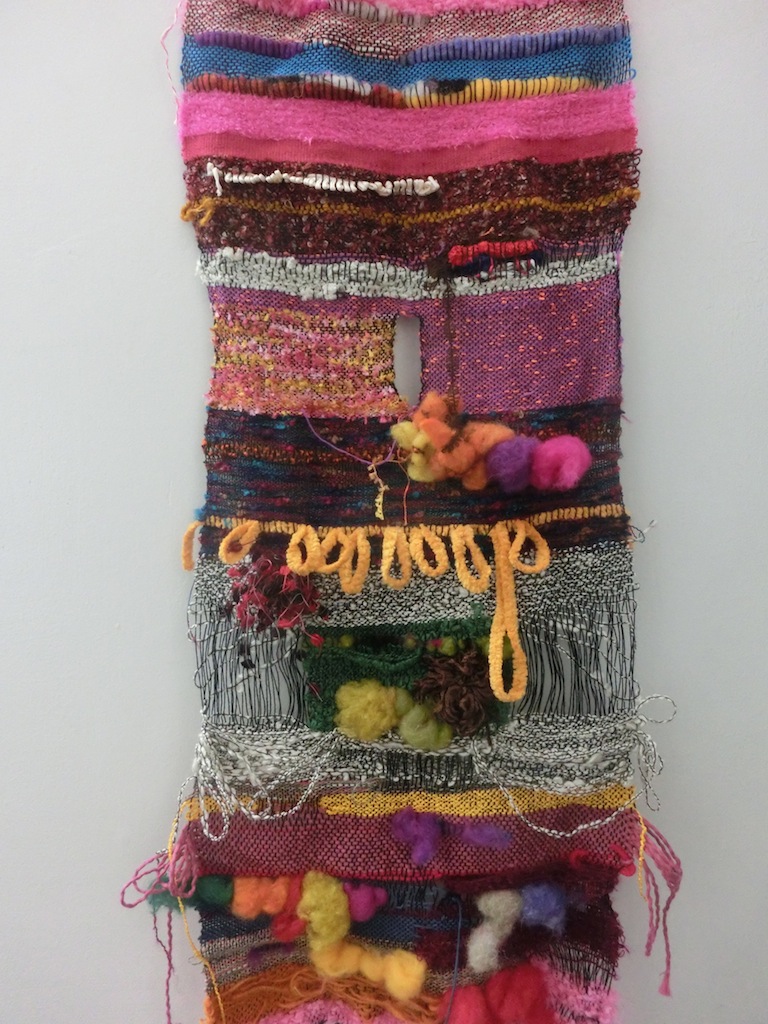
布が織り上がりました☆
And there you have it! Beautiful new cloth!
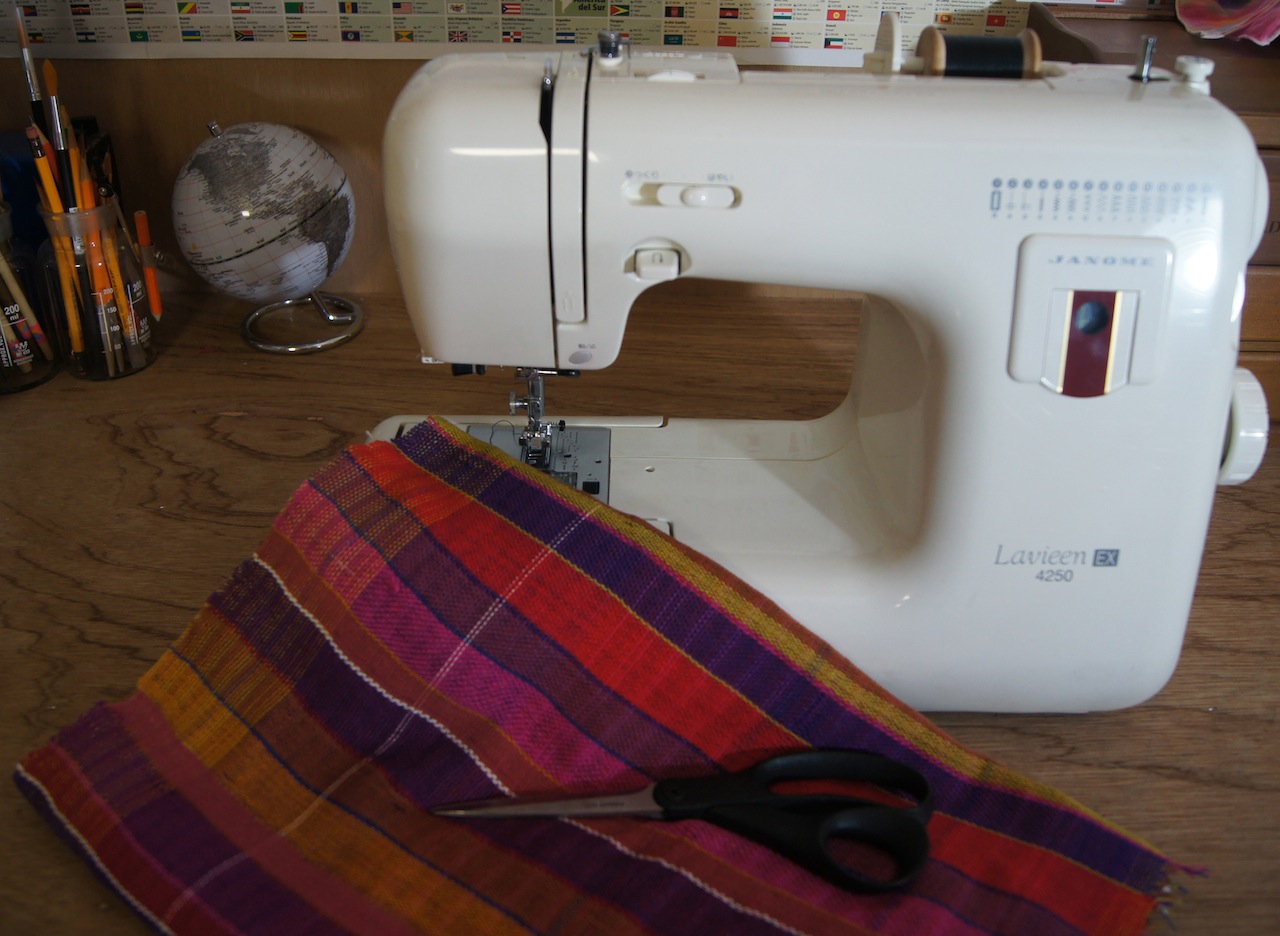
そして仕立てていきます。
But the job’s not over yet! Finally I tailor the cloth…
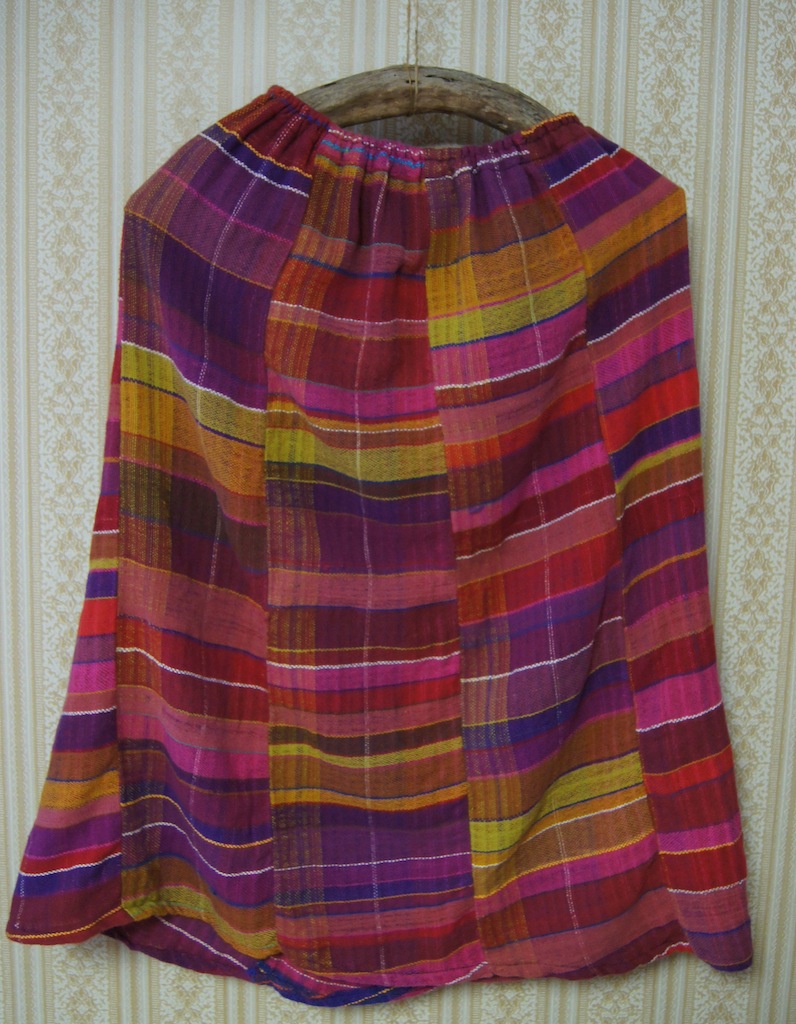
完成〜★ And voila! Finished!